
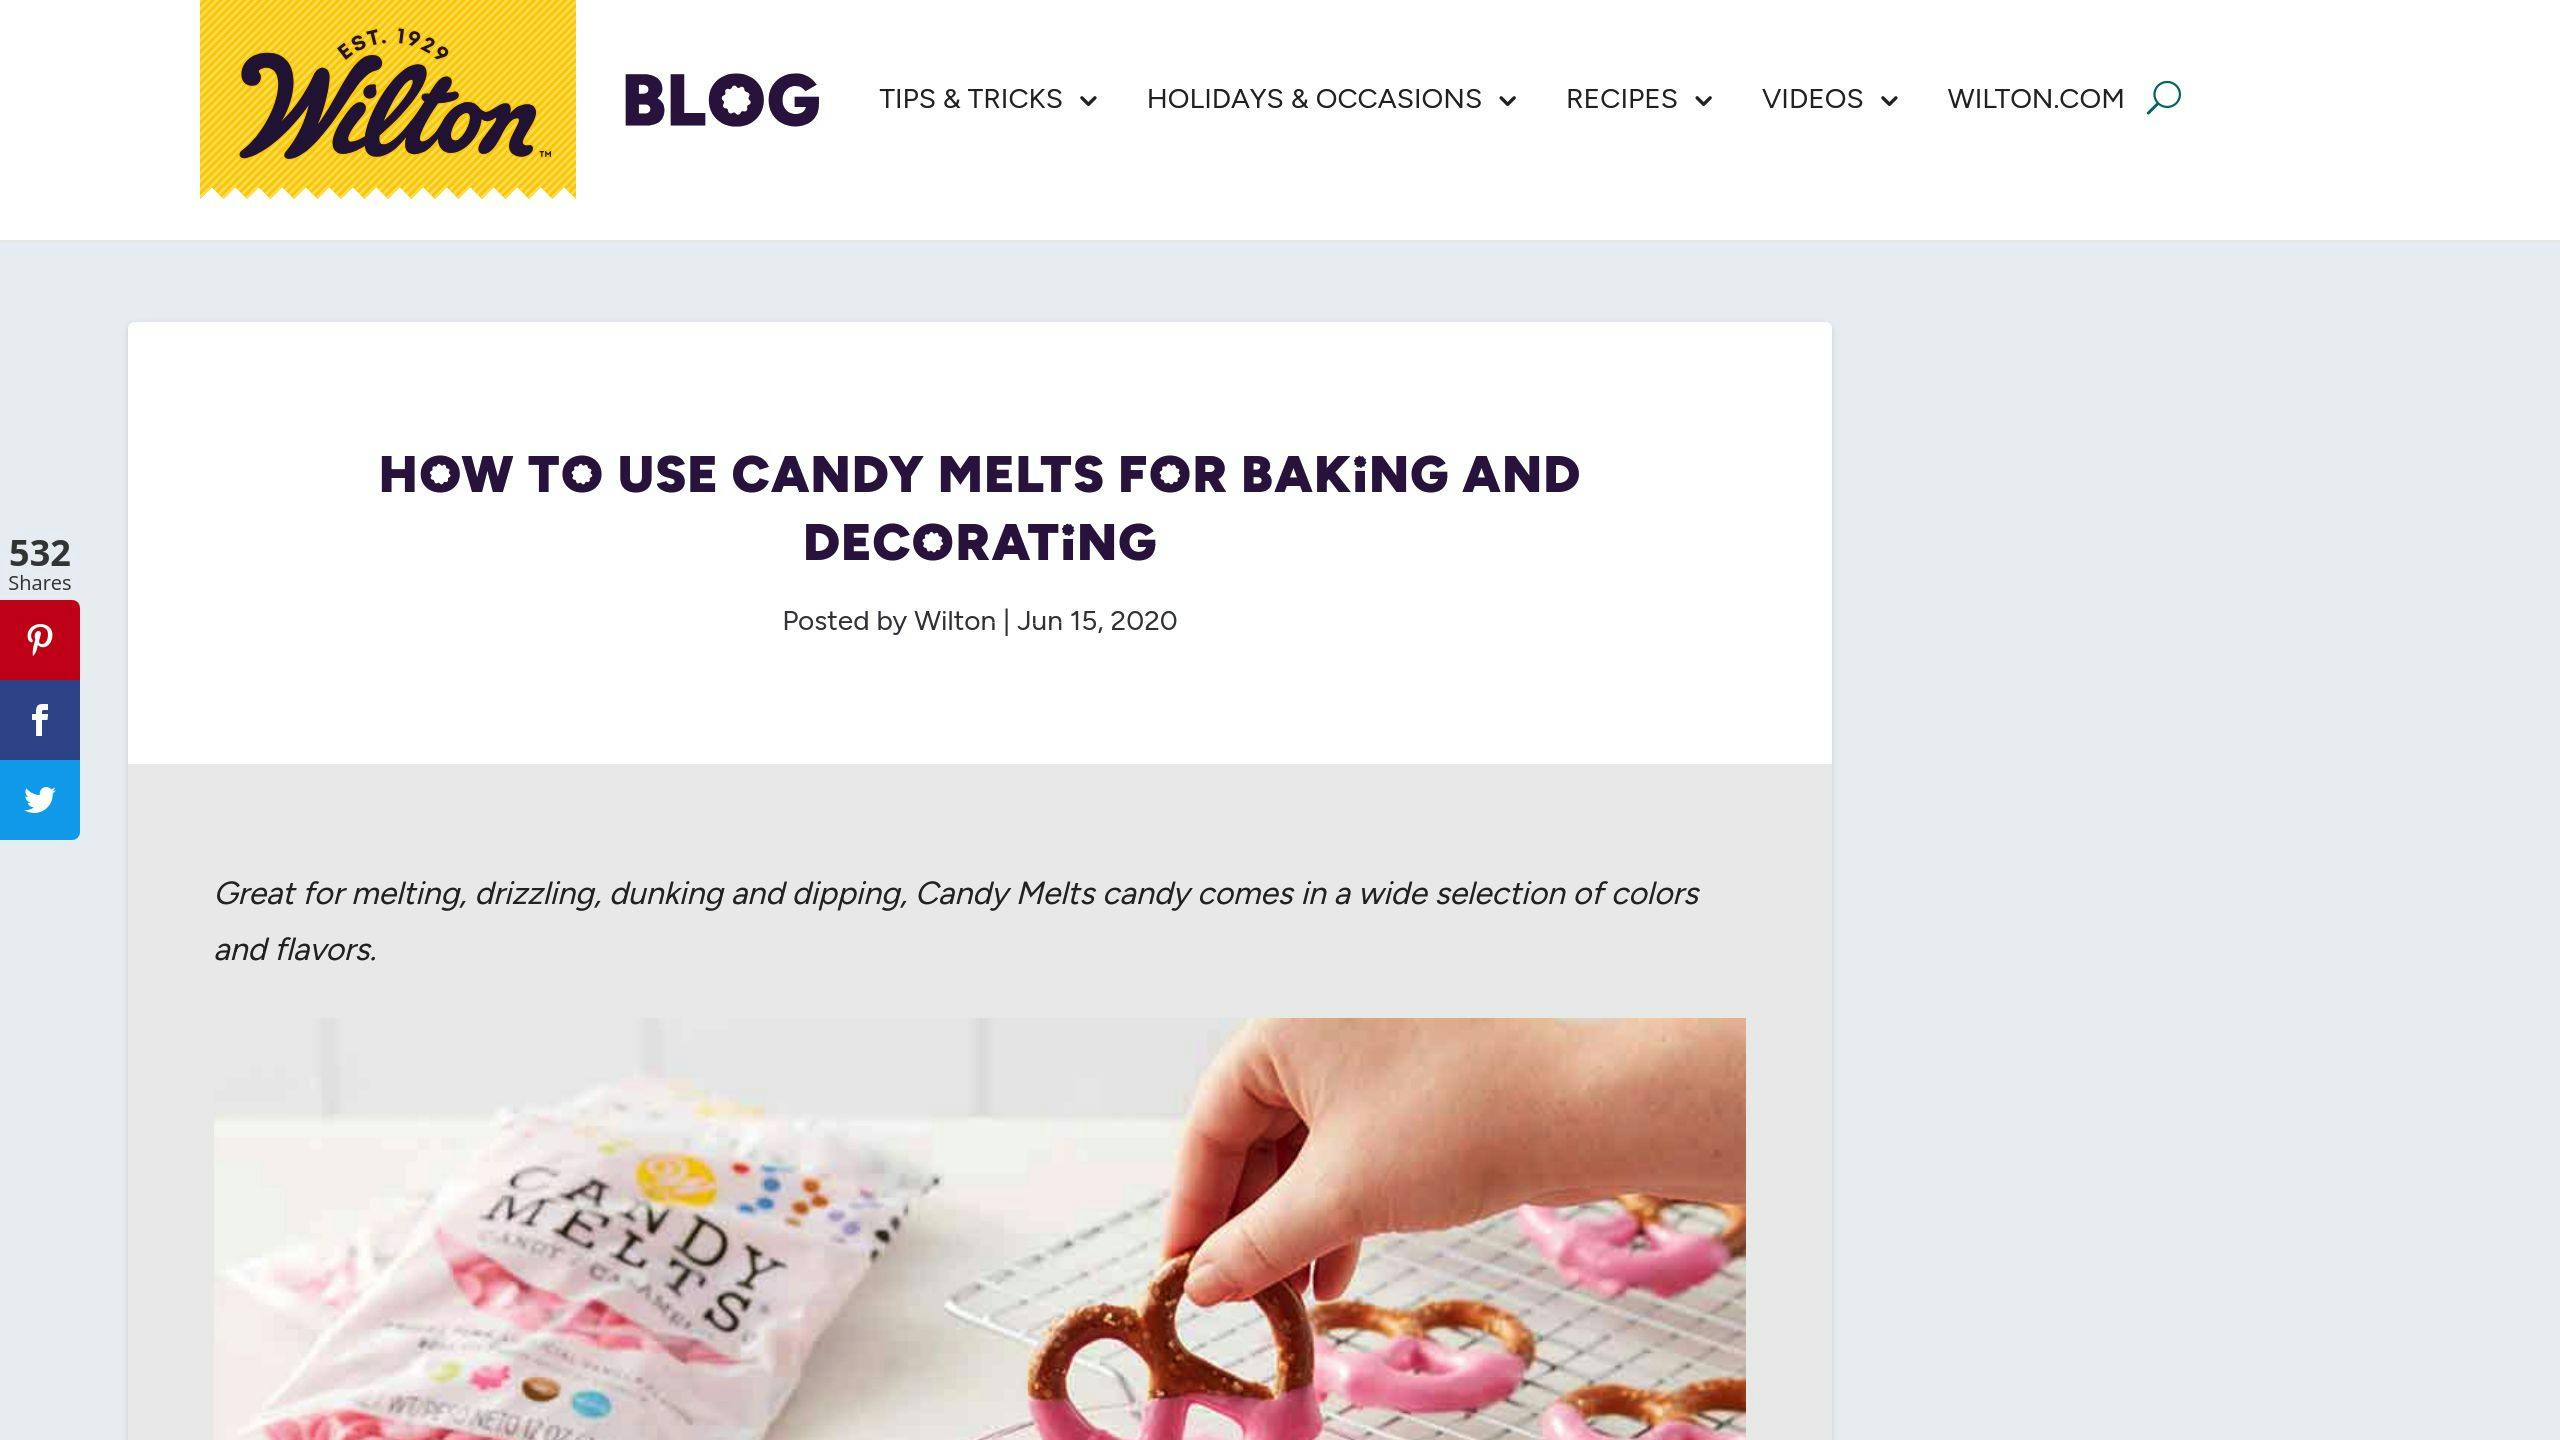
Candy Melts are a simple, beginner-friendly way to create beautiful, decorated treats. They’re easy to melt, set quickly, and don’t require advanced skills like tempering chocolate. Here’s what you need to know to get started:
- Melting Options: Use a microwave, melting pot, or double boiler for smooth results.
- Adding Color: Stick to oil-based food coloring to avoid ruining the texture.
- Shaping & Molding: Pour melted candy into molds and tap to remove air bubbles.
- Fixing Issues: Prevent overheating or seizing by melting at low power and keeping tools dry.
- Storage: Unused Candy Melts can be stored in airtight containers for future use.
| Method | Time Needed | Best Use |
|---|---|---|
| Microwave | 2-3 minutes | Small batches or quick tasks |
| Melting Pot | 8-10 minutes | Larger projects or long use |
| Double Boiler | 10-15 minutes | Precise temperature control |
Whether you’re coating treats like pretzels or creating detailed decorations, Candy Melts offer endless possibilities for crafting eye-catching confections. Start with basic projects, keep your workspace organized, and enjoy experimenting with colors and designs!
How to Work with Candy Melts: Step-by-Step
How to Melt Candy Melts
Getting the right melt is key to achieving smooth, polished results. The microwave is a quick and easy option: place the Candy Melts in a microwave-safe bowl, heat at 50% power for 1 minute, and stir well. Continue heating in 30-second bursts, stirring after each, until most of the candy is melted. The residual heat will finish the job as you stir.
For a more controlled approach, try a Candy Melts Melting Pot. This tool melts up to 2.5 cups in under 10 minutes and keeps the candy at the perfect temperature, preventing overheating and keeping it usable for longer.
| Melting Method | Time Needed | Best Use |
|---|---|---|
| Microwave | 2-3 minutes | Small batches or quick tasks |
| Melting Pot | 8-10 minutes | Larger projects or extended use |
| Double Boiler | 10-15 minutes | Precise temperature control |
If the candy hardens while you're working, gently reheat it in short bursts to make it workable again.
How to Add Color to Candy Melts
Once your Candy Melts are melted, you can add color for a personalized touch. Use oil-based candy colors since water-based ones can ruin the texture. White Candy Melts work best for vibrant shades, especially for colors like blue or purple.
"Start with small quantities to avoid overheating, use low heat, and stir constantly. Practice melting and coloring small batches before working on larger projects to get a feel for the candy's behavior."
How to Mold and Shape Candy Melts
Now that your candy is melted and colored, it's time to shape it. Pour the melted candy into molds and tap them gently on your work surface to remove air bubbles. This ensures the candy settles evenly and creates a smooth finish. To release the candy, tap the mold lightly instead of twisting it to avoid cracks or damage.
The setting time usually ranges from 10 to 15 minutes, depending on the thickness and room temperature. Keep in mind, if the candy seizes (becomes grainy and unworkable), it can't be fixed. Avoid this by keeping the candy away from moisture and using low heat.
Fixing Common Problems with Candy Melts
How to Prevent Overheating or Seizing
Candy Melts need careful temperature control to work properly. Overheating can ruin the texture, turning it grainy and unusable. To avoid this, melt them in the microwave at 50% power, using short intervals and stirring thoroughly after each burst. Also, keep everything completely dry - just a drop of water can make the sugar clump and ruin the mix.
If the melted candy becomes too thick, you can fix it by adding Wilton EZ Thin or a small amount of vegetable shortening (1-2 teaspoons per cup of Candy Melts). This will help bring back the right consistency.
| Problem | How to Avoid It | How to Fix It |
|---|---|---|
| Overheating/Seizing | Melt at 50% power; avoid water contact | Cannot be fixed - start over |
| Thick Texture | Watch temperature closely | Add EZ Thin or vegetable shortening |
How to Get Smooth Coatings
To get a smooth finish, keep the Candy Melts at their ideal working temperature: 90-92°F (32-33°C). Make sure the treats you're coating are at room temperature. If they're too cold, rapid cooling can cause the coating to crack.
"Avoid handling Candy Melts directly with your hands to prevent them from melting due to body heat. Let them harden at room temperature instead of using the fridge or freezer to avoid cracks."
For a clean, smooth coating, gently tap dipped treats on the edge of the bowl to remove any extra candy. Place them on parchment paper to set. If the coating thickens as you work, reheat it briefly with 5-10 second bursts in the microwave, stirring each time.
Stick to oil-based food coloring made specifically for Candy Melts. It keeps the consistency right and helps you achieve a smooth, professional look without causing the candy to seize.
With these simple tips, even beginners can fix common issues and create beautifully coated treats.
Fun Ways to Use Candy Melts
Coating Treats with Candy Melts
Candy Melts make it easy to create beautifully coated treats right in your own kitchen. To get the best results, use a Wilton Candy Melts Melting Pot, which keeps the candy at the right temperature and consistency for dipping without overheating.
Try dipping treats like pretzels, cake pops, or cookies. Use a dipping tool for easier handling, and lightly tap your wrist against the bowl to remove any extra coating. Make sure your treats are at room temperature before you start to avoid problems with the coating.
Coated treats usually dry in about 10–25 minutes, depending on their size and the room's temperature. For the best outcome, work in an area free from high humidity or extreme temperatures.
Once you've mastered coating, you can take your creations to the next level by crafting detailed candy decorations.
Crafting Decorations with Candy Melts
Candy Melts are perfect for making custom decorations, giving you plenty of room to get creative. If you’re working with colors like blue or purple, begin with bright white candy coating for a vibrant finish. For deep shades like red or green, it’s better to use pre-colored wafers instead of tinting white ones.
To create layered decorations:
- Start with details: Use a piping bag or brush to add accent colors first.
- Set each layer: Place the mold in the freezer briefly between layers.
- Fill with the base color: Add your main color to complete the design.
- Release carefully: Tap the mold gently on your work surface to release the decorations without breaking them. Avoid twisting the mold, as it can damage the design.
Extra Candy Melts can be stored in an airtight container and melted again for future use, making them a handy option for prepping decorations ahead of time. These techniques make it simple for anyone to create eye-catching, professional-style treats with ease.
sbb-itb-529d1c3
How to Melt Candy Melts Candy
Where to Buy Candy Melts and Tools
Having the proper tools and supplies can make all the difference when working on your Candy Melts creations. Wilton's official website is a great place to start, offering a wide range of Candy Melts with consistent quality and frequent updates to their product lineup.
Shop at Gloria's Cake & Candy Supplies
Since 1972, Gloria's Cake & Candy Supplies has been a trusted source for both professionals and beginners. They offer a large selection of products and process orders within 24 hours. Plus, their knowledgeable staff is always available to help you choose the right tools for your needs.
| Shopping Method | Benefits | Features |
|---|---|---|
| Online Store | Convenient 24/7 access | Quick order processing, bulk discounts |
| In-Store Pickup | Instant availability | Personalized help from staff |
| Bulk Orders | Cost-effective options | Discounts for large quantities |
For more options, check out craft stores like Michaels and Hobby Lobby. They frequently offer discounts and carry specialty items, including hard-to-find colors, to help bring your creative ideas to life.
With these resources, you'll have everything you need to create impressive treats with Candy Melts.
Getting Started with Candy Melts
Candy Melts offer endless ways to bring your confectionery ideas to life. Whether you're a beginner or a seasoned baker, mastering the basics and using the right techniques can set you up for success.
If you're just starting out, begin with simple projects like coating treats or using basic molds. These are great for building your skills without feeling overwhelmed. Here's a quick guide:
| Skill Level | Project Type | Tips |
|---|---|---|
| Beginner | Coating & Basic Molds | Work in small batches, keep temperature steady |
Preparation is everything. Make sure your workspace is clean, your tools are organized, and you're ready to go before you begin. Candy Melts are perfect for any occasion, whether you're making birthday treats or festive holiday goodies.
To get the best results:
- Focus on simple projects at first to gain confidence.
- Work in small batches to maintain quality.
- Use well-known brands like Wilton or Merckens for consistency.
- Keep your tools and workspace neat and ready to use.
With these tips, you'll be ready to create eye-catching and delicious treats. Don't forget to revisit earlier sections for detailed techniques and solutions to common challenges as you dive into your Candy Melts journey.
FAQs
Here are some quick answers to common questions about using candy melts:
How long do candy melts take to set at room temperature?
The setting time for candy melts varies based on the size of the item and room conditions:
| Project Type | Setting Time |
|---|---|
| Small items (like cake pops or pretzels) | 20-30 minutes |
| Medium items (such as molded shapes) | 30-45 minutes |
| Large items (like bark or coated treats) | 45-60 minutes |
Tip: Want to speed things up? Pop your treats in the refrigerator to cut the setting time in half. Just don’t leave them in too long - condensation can form and ruin the finish.
Can I mix different colors of candy melts?
Absolutely! Mixing colors is a fun way to customize your treats. Melt each color separately, then combine them while still warm for a smooth, even blend.
How do I store leftover candy melts?
Keep unused candy melts in an airtight container, stored in a cool, dry spot. When stored correctly, they can last for months.
Where can I buy candy melts and tools?
Check out Gloria's Cake & Candy Supplies for high-quality candy melts and the tools you’ll need. For more details, refer to the 'Where to Buy Candy Melts and Tools' section above.
With these tips, you're all set to dive into your candy melt projects!

